Automating a simple Telegram bot can let you serve different types of data to various people including channels and group of which you are a part. I use my bot to serve my channel members Tech related news directly. Today I am going to share on how you can make such a simple EchoBot and deploy it on Heroku, so that it works 24x7. So without any further ado, let’s get started.
Step-1 Talk to the BotFather
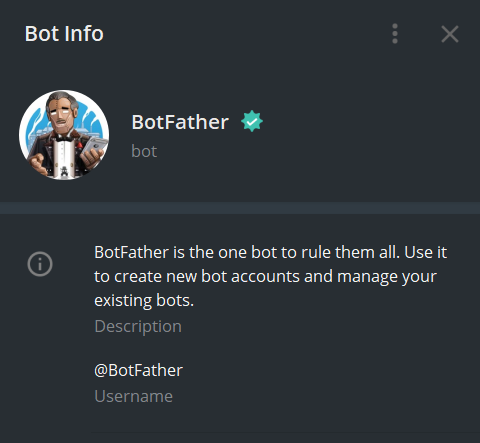
Go to the BotFather (@BotFather) on Telegram and then type /start.
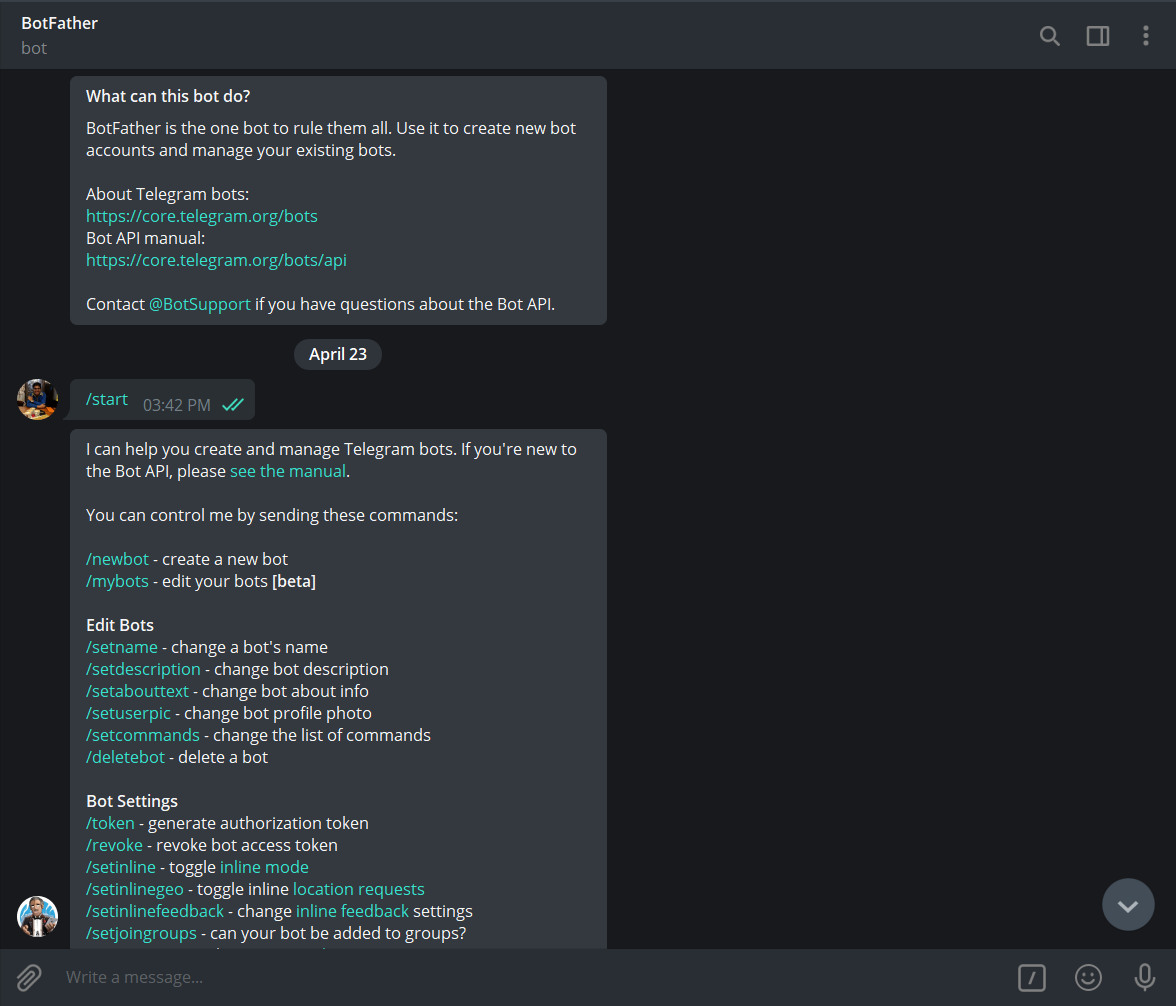 After that just type
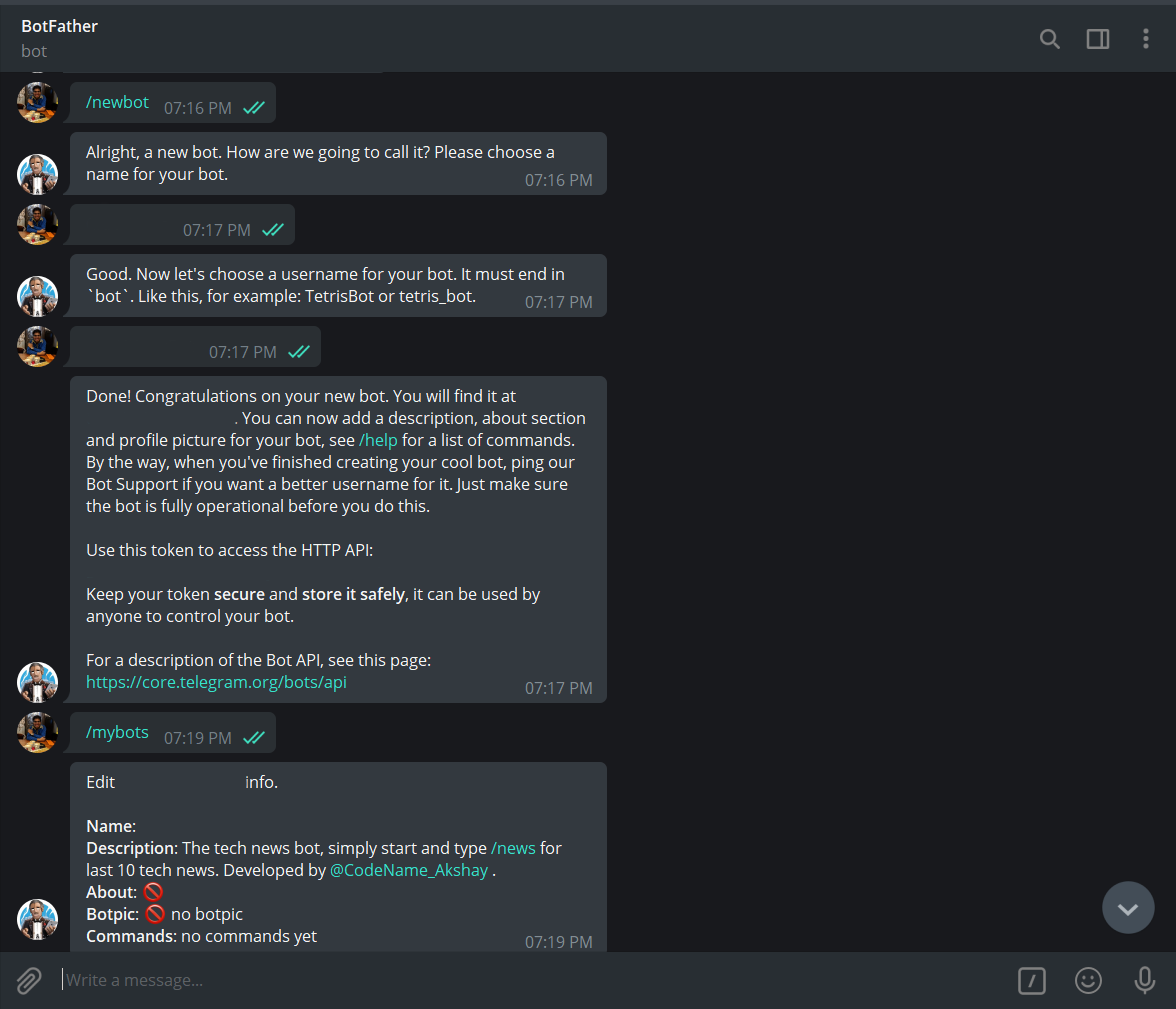
 /newbot to create your first bot. Then give it a name and other information like its address. The BotFather will also give you the API Token for your bot, save it, we need it in a couple of minutes.
Step-2 Talk to your bot
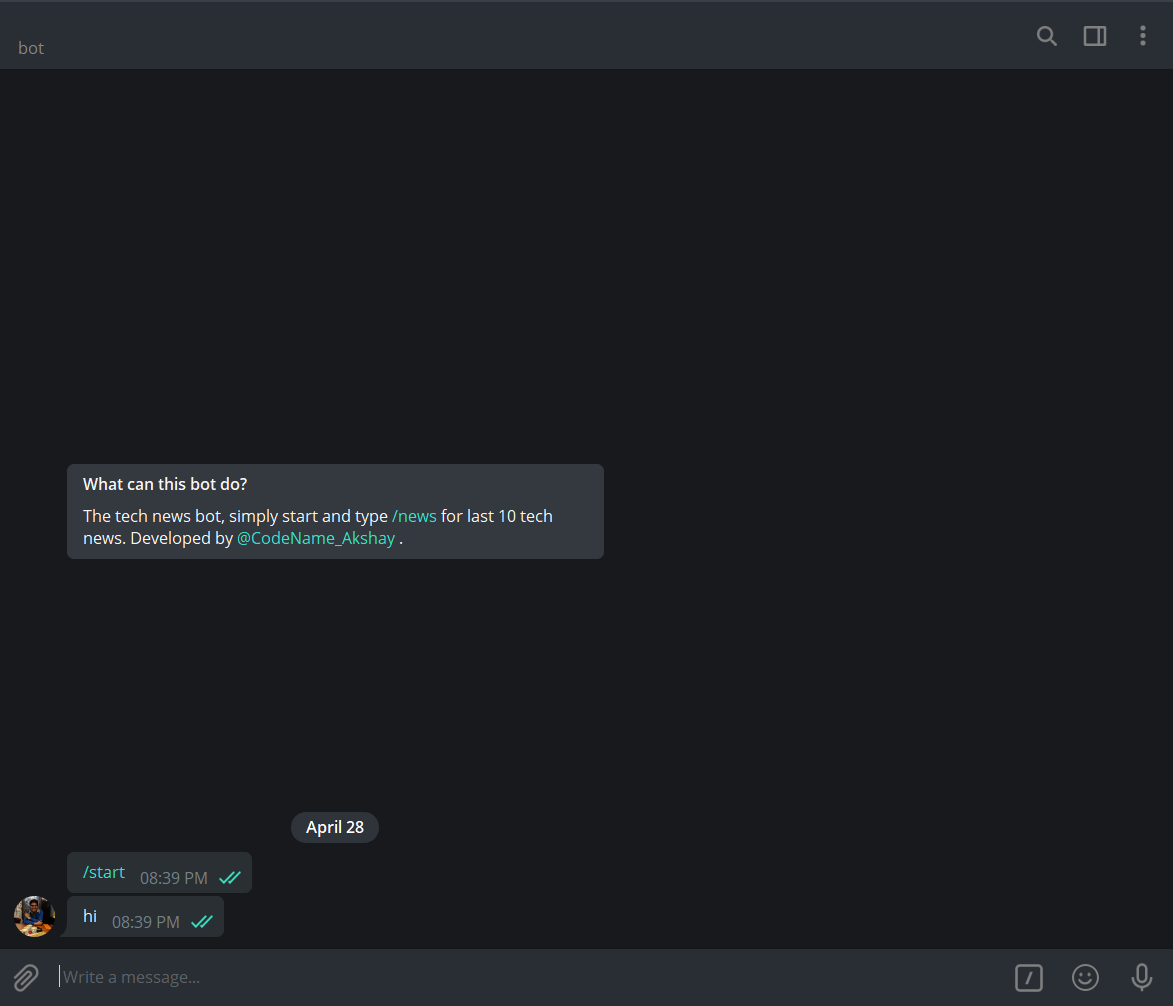
Now go to the address of your bot and type /start and send it. Now type anything that you like, it is just for making sure that your unique user id gets stored with the bot.
Step-3 Finding the user id
Now got to this link https://api.telegram.org/bot[YOUR_API_TOKEN]/getUpdates just replace [YOUR_API_TOKEN] by your API Token.
Here you will see the message that you sent to your bot, now simply just copy the user ID and store it for later use.
Step-4 Getting Started with Python
Now simply create a directory where you will be going to store your code and open VSCode or any other editor in it.
Then type python -m venv botenv/ to create a virtual environment for your code.
Then you need to activate it by simply typing source botenv/Scripts/activate in you command shell.
Now we need the following modules for our project so get ahead and download them.
pip install flask
pip install python-telegram-bot
pip install requests
pip install bs4
pip install telegram
Now that you have installed the modules, simply create your project directory tree like this,
.
├── app.py
├── telebot
│   ├── credentials.py
│   |   .
│   |   you can build your engine here
│   |   .
│   └── __init__.py
└── botenv
Step-5 Creating the credentials.py file
Simply write these lines of code in credentials.py,
bot_token = "here goes your access token from BotFather"
bot_user_name = "the username you entered"
URL = "the heroku app link that we will create later"
Step-6 Creating the app.py file
Now go to your app.py file and write this in it,
from flask import Flask, request
import telegram
from telebot.credentials import bot_token, bot_user_name,URL
global bot
global TOKEN
TOKEN = bot_token
bot = telegram.Bot(token=TOKEN)
Now to start our Flask app, write this also in app.py,
app = Flask(__name__)
Step-7 Defining functions
Now we will be creating the functions which get called when anybody talks to the bot.
@app.route('/{}'.format(TOKEN), methods=['POST'])
def respond():
   update = telegram.Update.de_json(request.get_json(force=True), bot)
   chat_id = update.message.chat.id
   msg_id = update.message.message_id
   text = update.message.text.encode('utf-8').decode()
   print("got text message :", text)
   if text == "/start":
       bot_welcome = """
       Welcome to CNA bot, this bot print the same message that you type. Try it out by typing and sending anything. Developed by @CodeName_Akshay"
       """
       bot.sendMessage(chat_id=chat_id, text=bot_welcome, reply_to_message_id=msg_id)
   else:
       bot.sendMessage(chat_id=chat_id, text=text, reply_to_message_id=msg_id)
   return 'ok'
This function below basically lets you start the bot. We will see later how to call this function.
@app.route('/setwebhook', methods=['GET', 'POST'])
def set_webhook():
    # we use the bot object to link the bot to our app which live
    # in the link provided by URL
    s = bot.setWebhook('{URL}{HOOK}'.format(URL=URL, HOOK=TOKEN))
    # something to let us know things work
    if s:
        return "webhook setup ok"
    else:
        return "webhook setup failed"
To create a homepage for your bot on Heroku, we will define a function that just prints a period on the mainpage.
@app.route('/')
def index():
    return '.'
if __name__ == '__main__':
    # note the threaded arg which allow
    # your app to have more than one thread
    app.run(threaded=True)
Now your basic bot is complete.
Step-8 Initializing launch of the bot on Heroku
First we need a way to make sure that Heroku knows the requirements we need, so run this command.
pip freeze > requirements.txt
Now we need the Procfile which tells Heroku where our app starts, so create a Procfile file and add the following command,
web: gunicorn app:app
Now save everything and then go to your Heroku Dashboard and create a new app. Once you do, it will direct you to the Deploy page. Then, open the Settings tab in a new window and copy the domain of the app which will be something like https://appname.herokuapp.com/and paste it in the URL variable inside credentials.py.
Step-9 Launching the bot on Heroku
First login into your Heroku account by the following command,
heroku login
Then initialize a Git repository in your directory by the following commands,
git init
heroku git:remote -a [heroku-project-name]
Replace [heroku-project-name] by your project name.
Now deploy the app by the following commands,
git add .
git commit -m "first commit"
git push heroku master
Now after it completes pushing, simply navigate to https://yourappname.herokuapp.com/setwebhook to start the bot.
If you see webhook setup ok that means you are ready to chat with your bot.
Step-10 Chatting with the bot
Now you can go to your bot and simply type in a message and wait for it’s reply. It will reply the same text. This is called an Echo bot. You can now explore the possibilities, just by changing the definition of the respond() function you can make your bot do alot of cool stuff.
 In the next part of this blog, I will tell you how I made my own news serving bot, so Stay Tuned.