In today’s world, everything has mostly shifted to the mobile side of the computers rather than the bulky desktops that we used a decade earlier. That’s because it promises to do most things (and sometimes more) that those old PCs could do, at increased mobility and therefore ease of access. Hence, the increase in the requirement of ways to enhance that experience. Many ways are there to create Android as well as iOS apps out there, but one of them stands out as Flutter needs only one language for both. That means you don’t have to learn Java, Kotlin for Android or Swift, Objective C++ for iOS, rather just one language DART developed by Google.
Why Flutter?
Flutter because, it’s an easy way to develop beautiful UI apps that run literally anywhere ranging from Android, iOS, Web, Xamarin and more. I am not going to actually show you how to install Flutter because there are many articles out there showing that like this but I will show you that after installing how can you start to develop apps.
Developing your first App
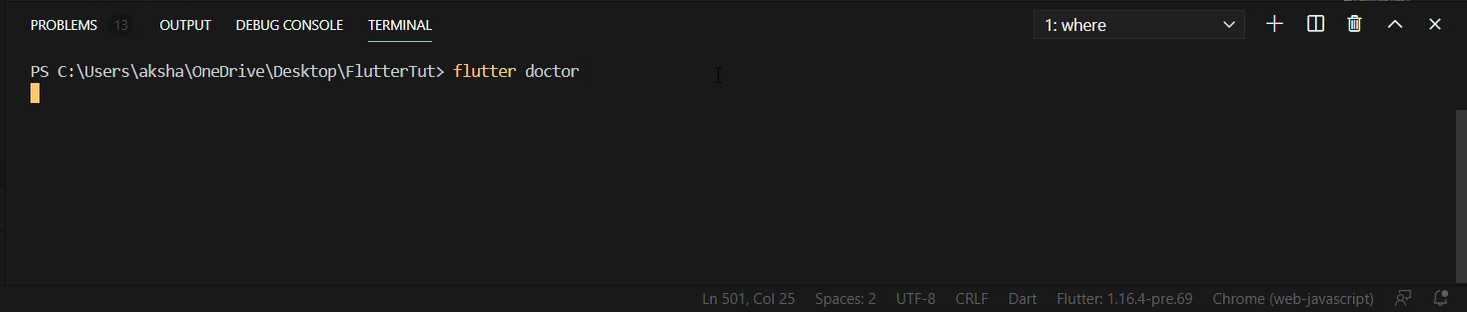
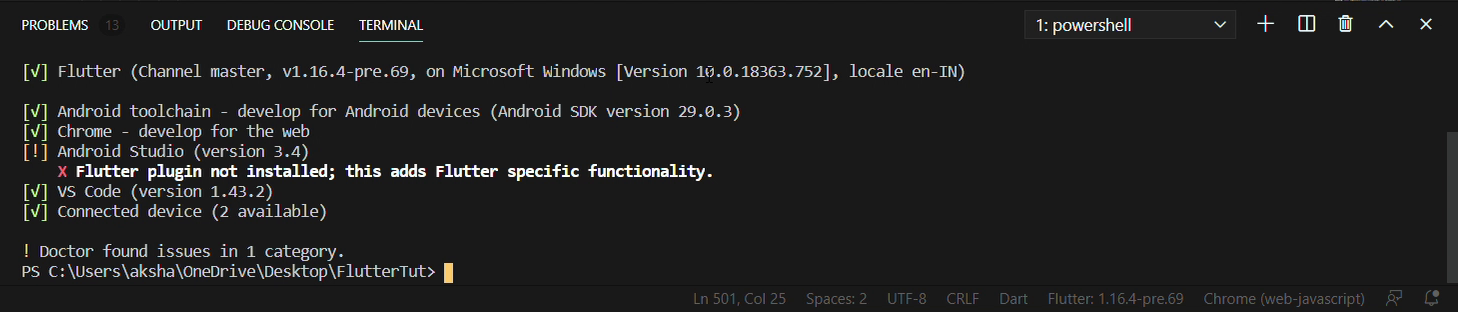
First open the terminal of your choice and type flutter doctor to make sure that your flutter installation was done properly and it’s working.
Then after it’s show everything is working fine type flutter create <app_name> to create your first app.
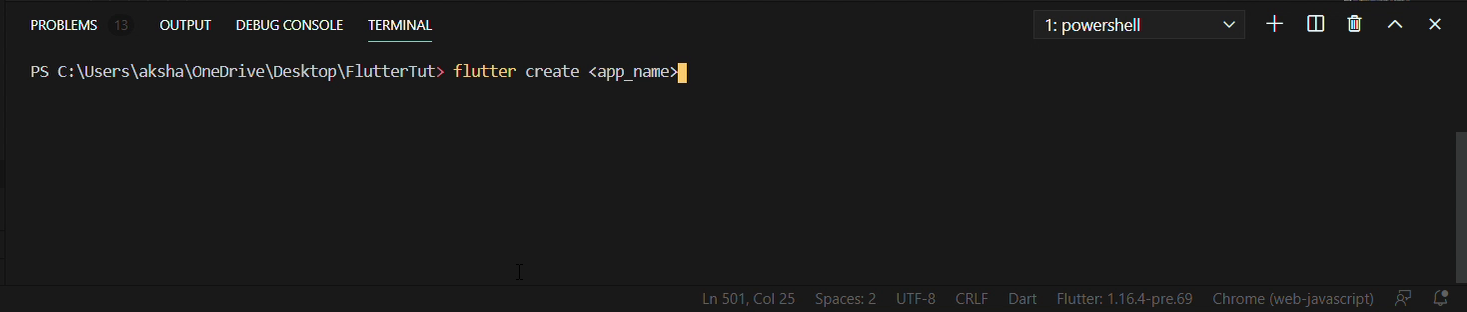
I typed flutter create demo to name my app as Demo.

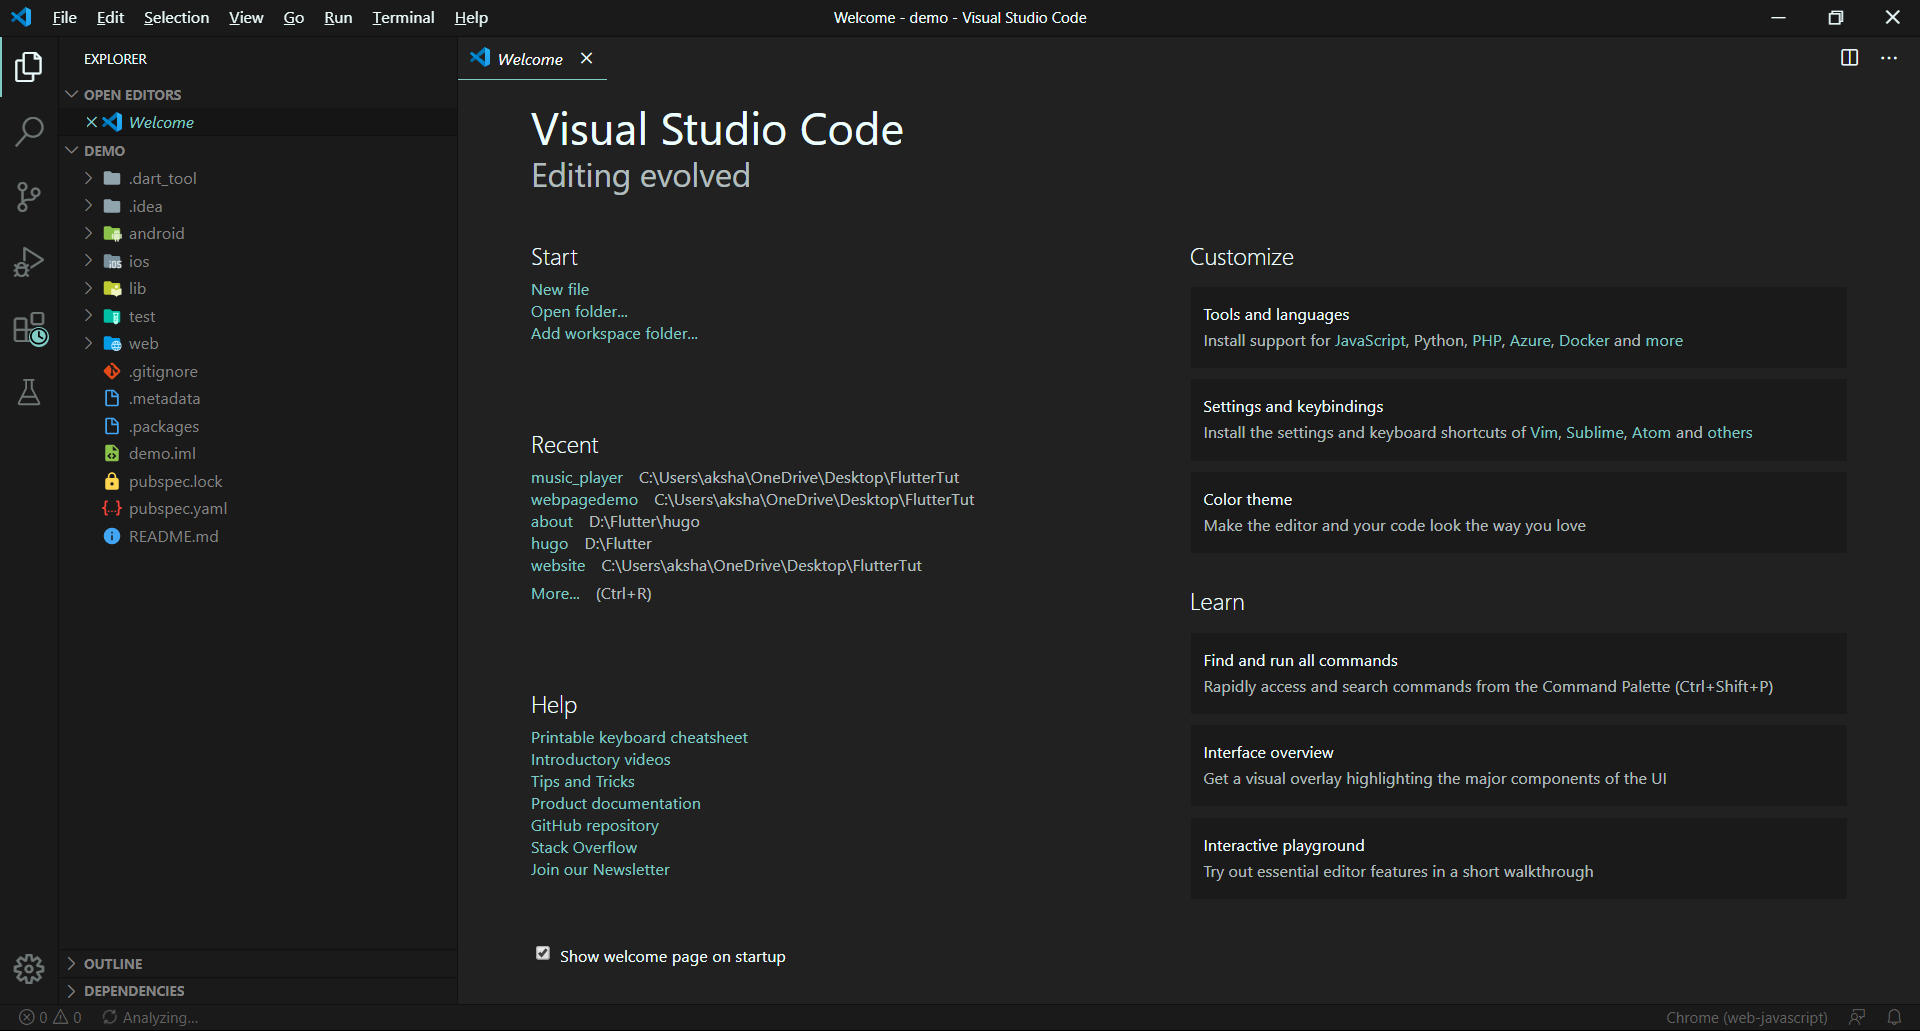
Then if you will be using VS Code to make this app type
cd demo
code .
to open it in VS Code or else simply navigate to the folder where your app was created and open the lib folder and then main.dart file in it.
Now after you have opened main.dart simply remove everything that’s present on it. You could also study it but here we will be going from the start so no need for example code.
Then first type
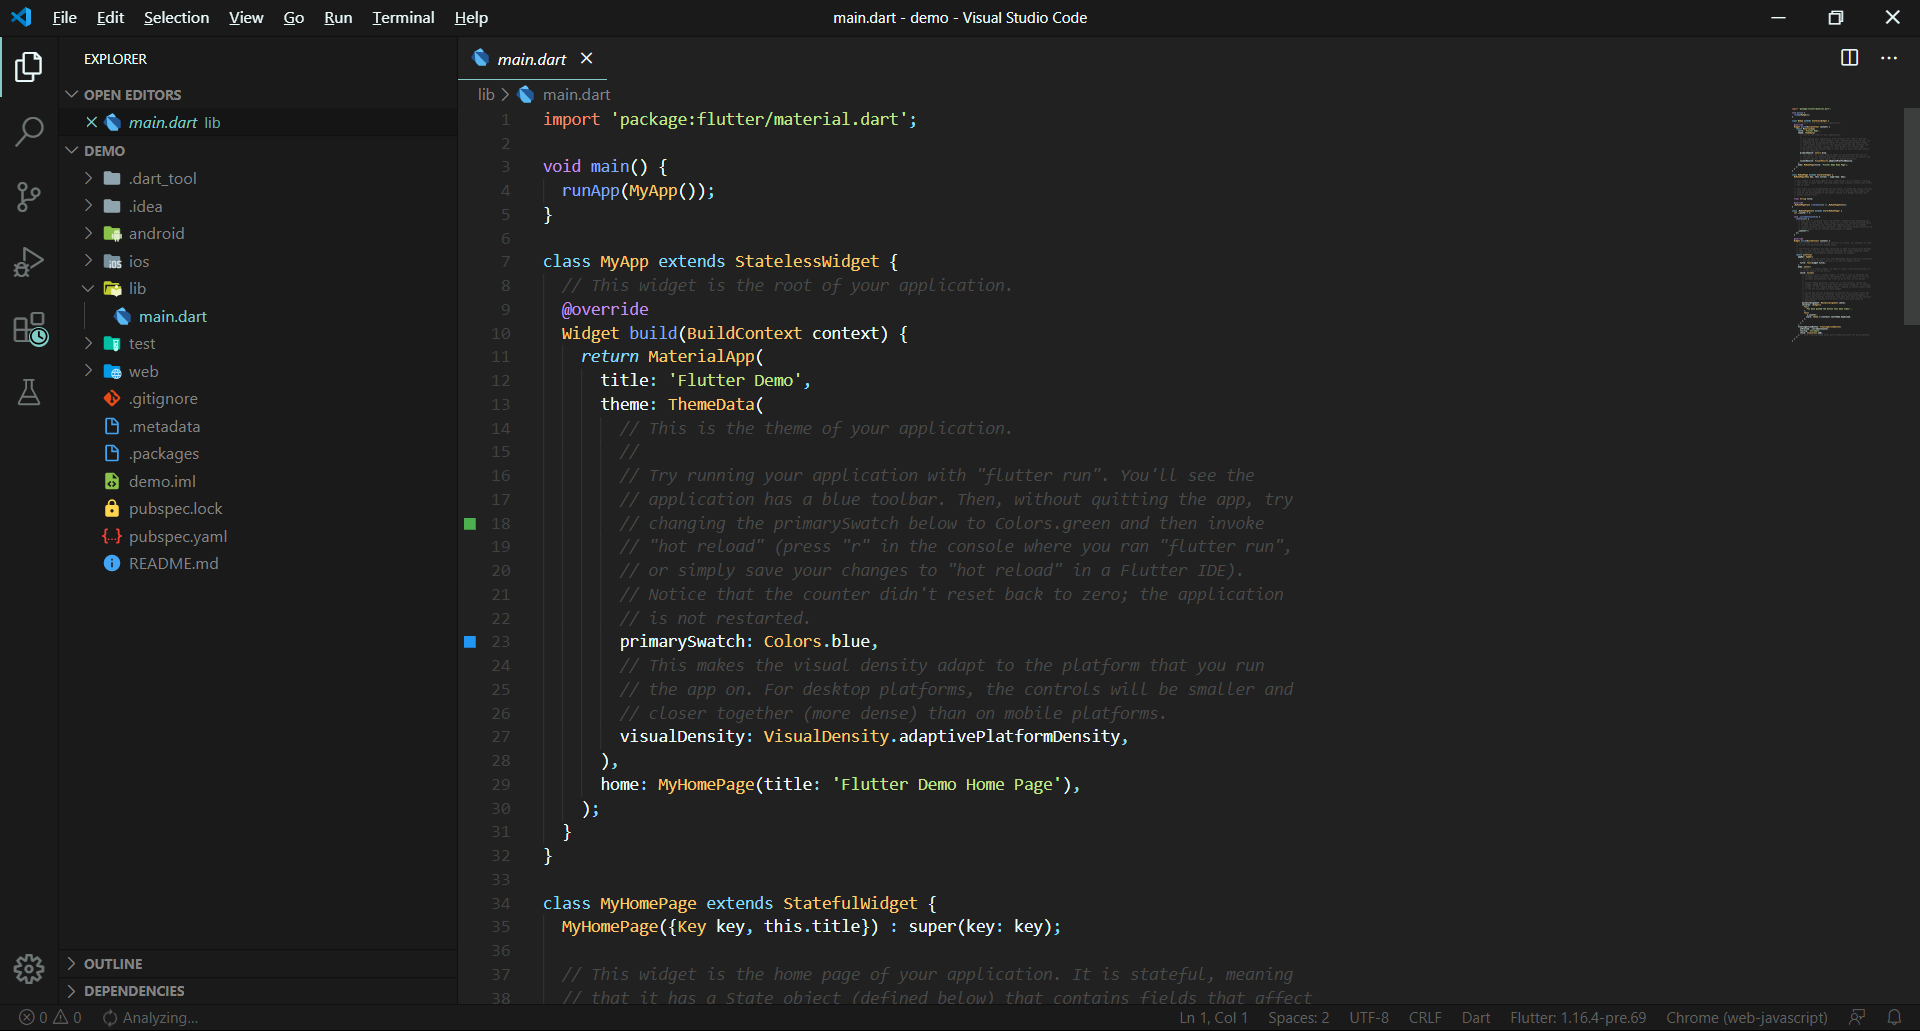
import 'package:flutter/material.dart';
to import the material package that contains all our widgets which we need to build elements on the screen.
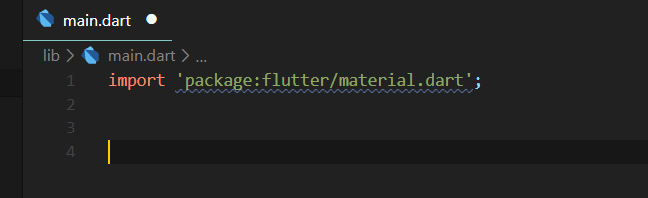
Then we need to create a main function which basically is the first function DART calls, or basically the starting point of our app from where the compiler starts.

Now in this function block we need to call a built in function runApp() which basically takes the first widget or the root of our widget tree and starts the App.
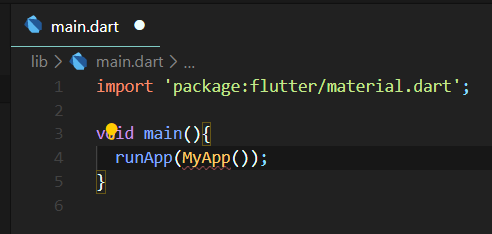
I will call my root widget as MyApp() but you can call it anything. Now we need to define this MyApp() widget so that we can put other predefined widgets in it to show on our screen. There are two types of basic widgets Stateless and Stateful widgets but we will not go in deep on what does what but simply use a Stateless widget here. For that simply type stle in VS Code and in the popup menu that appears select Flutter stateless widget.
Now we need to type in the name of this widget so type MyApp there.

Now you can run the app at this point. You simply need to press CTRL+F5 or select Run without Debuuging from the Run menu.

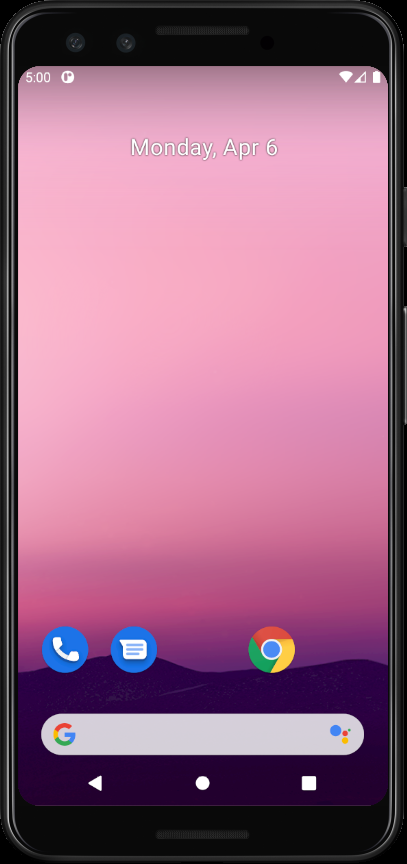
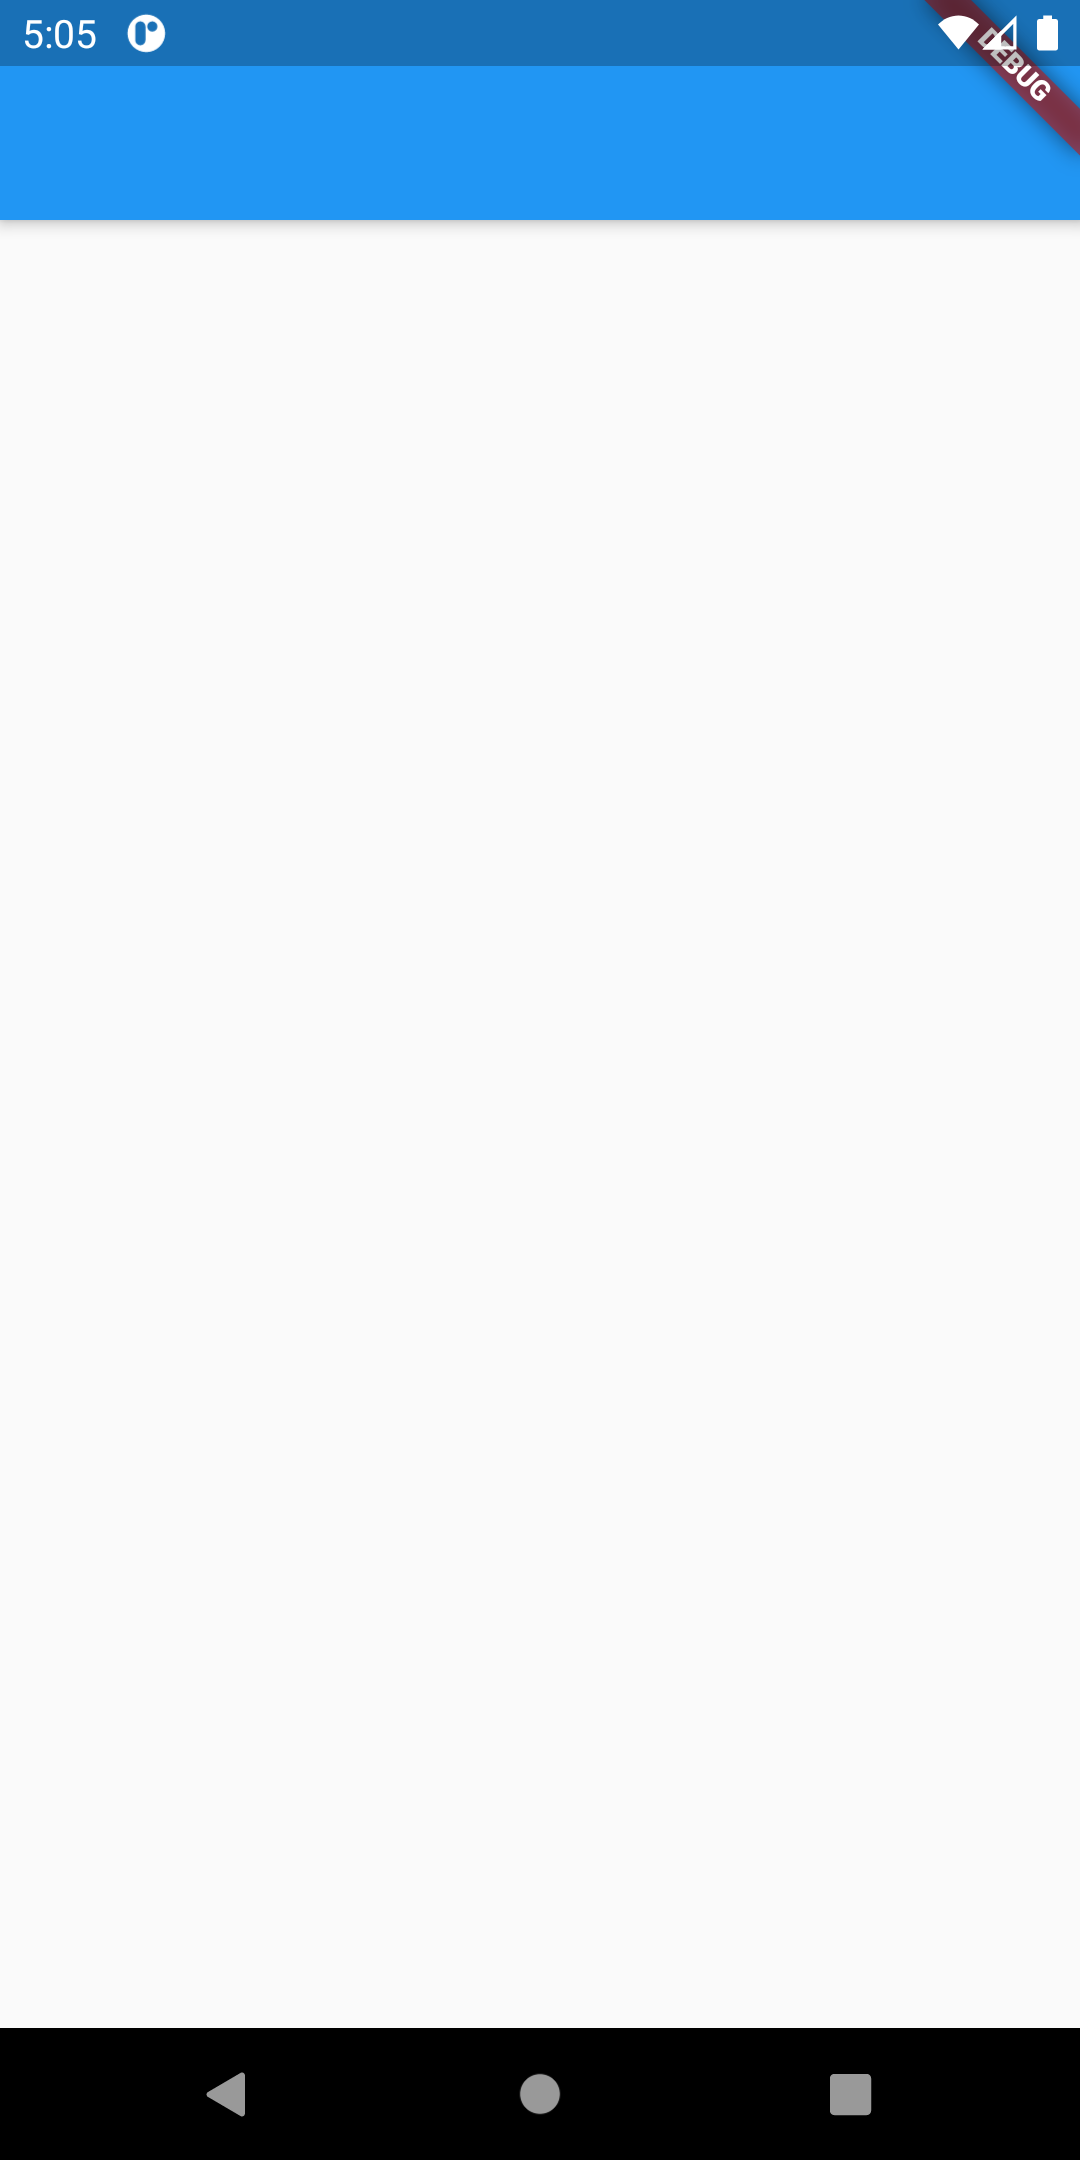
Now your emulator will open first like this,
Then your app will run in it.
This bar will also open in your VS Code. This bar allows us to simply hot refresh, hot restart or end or app simulation on the emulator/device. In VS Code everytime you press CTRL+S it hot refreshes the app which means you see the changes instantly. But sometimes it doesn’t work so simply you can manually click the green refresh icon to hot reload your app. When you are done you can close the simulation by clicking the red stp button.

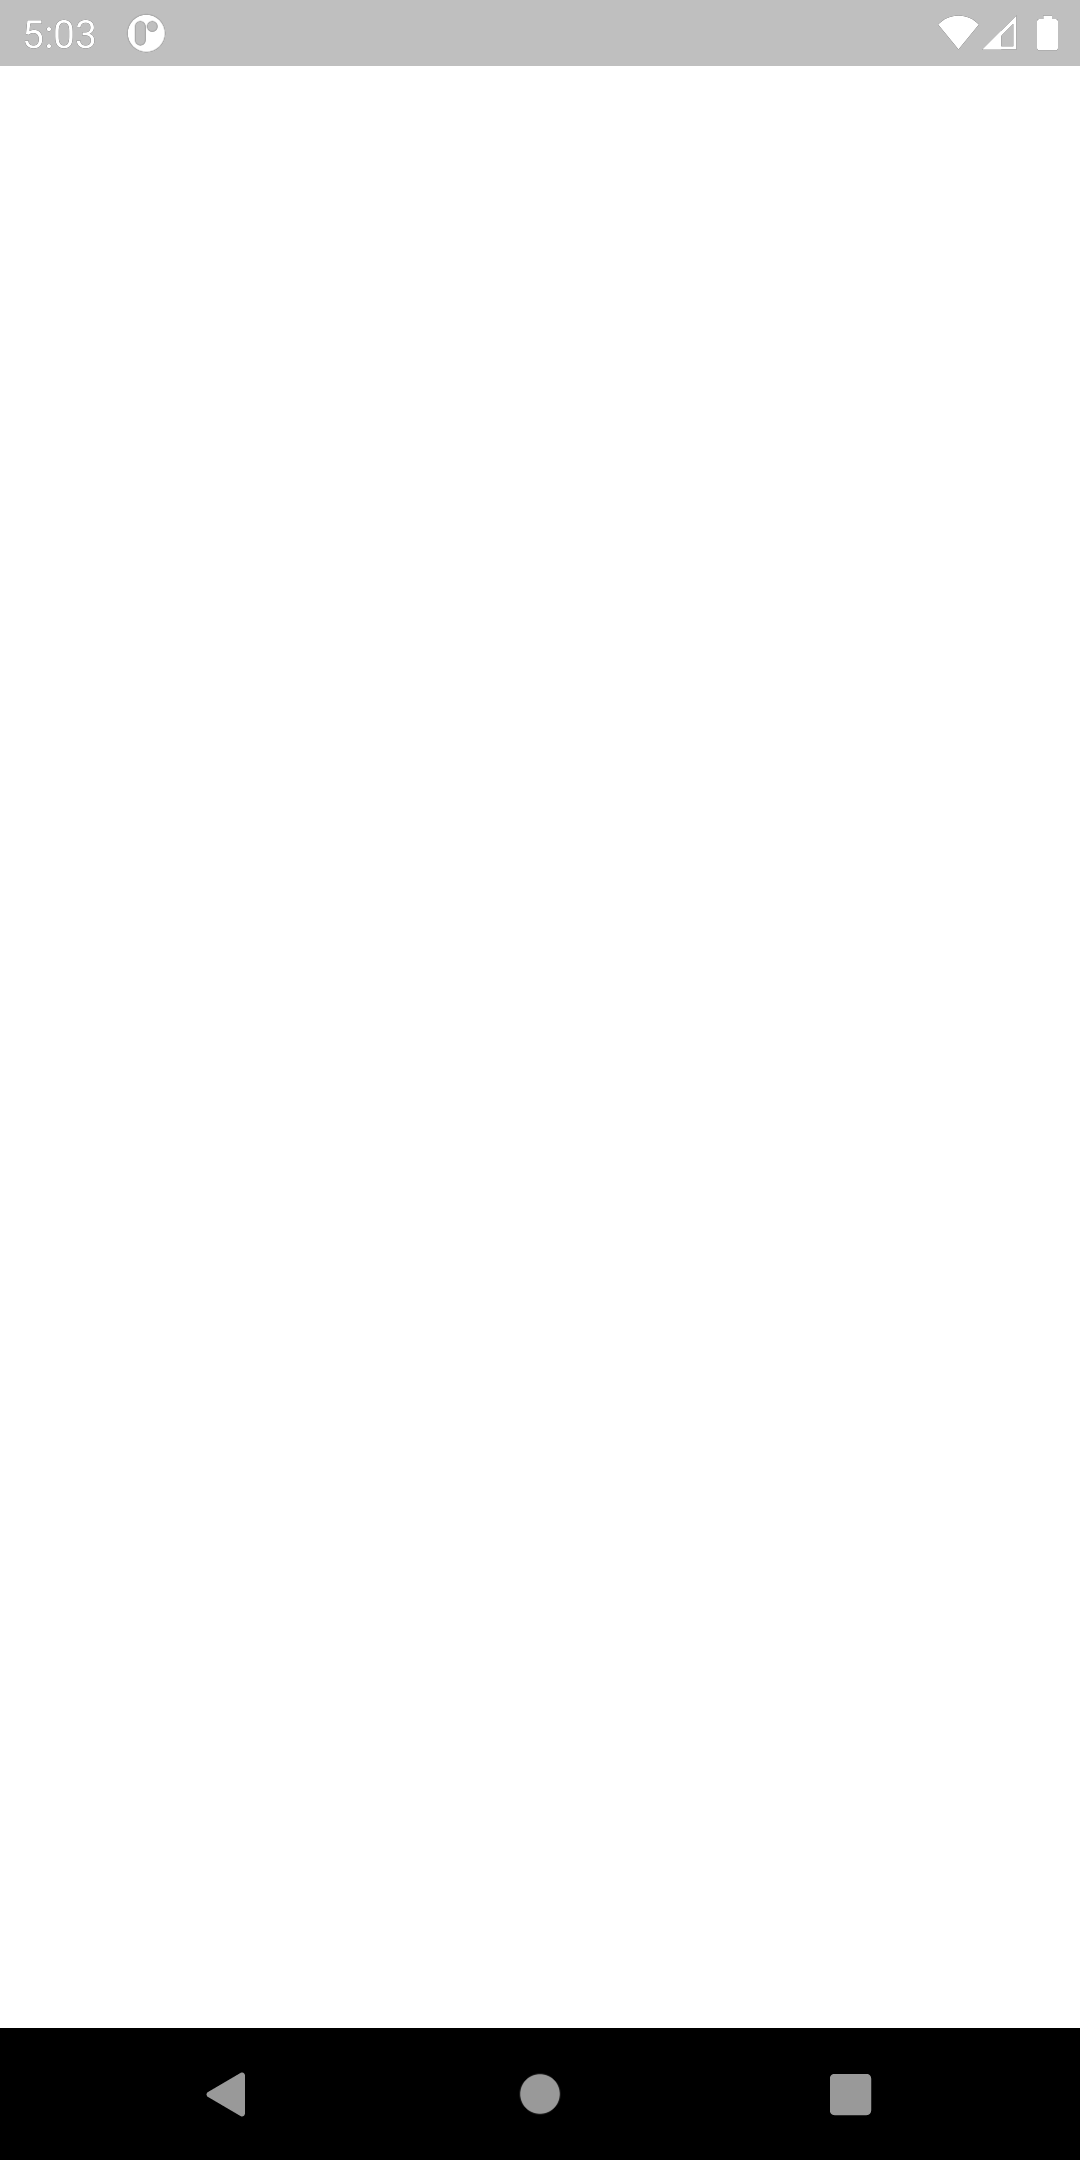
At first you will see there is nothing in it, it’s just because we have given nothing inside the MyApp() widget. So will return a MaterialApp() widget which simply defines that we will be creating a material app.
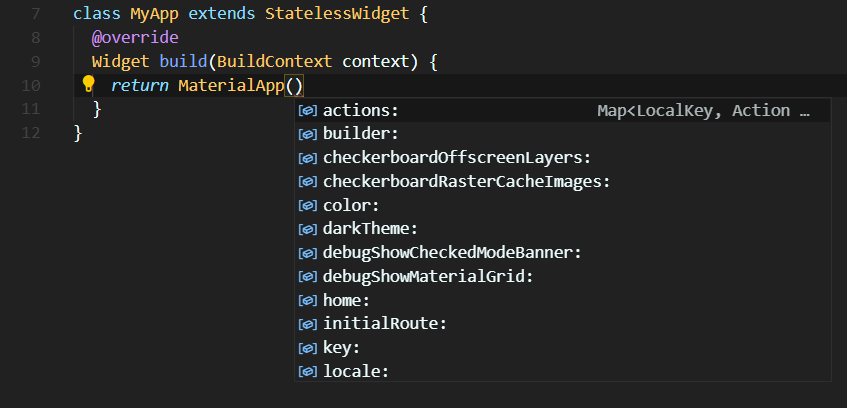
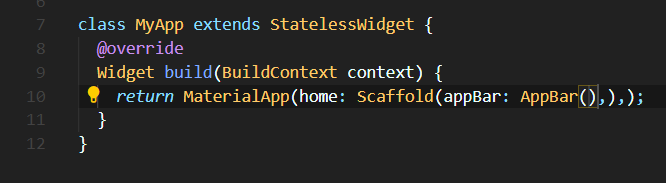
Then in the home: property of the MaterialApp() widget we can give the Scaffold() widget, which basically contains many properties like body:, appBar: in which we can give more widgets.

Then in the appBar: property of the widget I gave an AppBar() widget which simply shows a Material App Bar in our App if you hot refresh it.
Now I simply write the title of the AppBar() in its title: property.
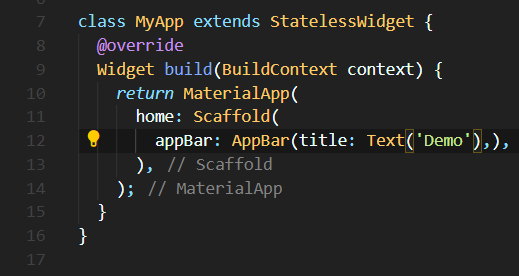
Note - Look at the title: property that I have given it the text demo as a widget not as a string because in this language everything that needs to be displayed on the screen must have an element in it and the widget Text() has element in its defination in the material package but the String ‘Demo’ does not.
Now if you run the app you get output like this.

Now we simply need to give widgets in the body: property of the Scaffold() widget to show elements below AppBar(). First, I gave an Center() widget which simply centers its child.
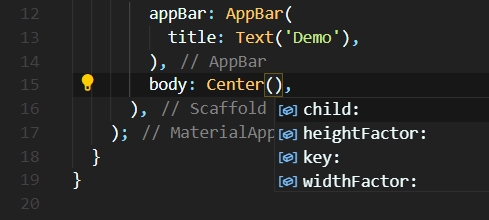
Then I gave a RaisedButton() widget in the child: property of the Center() widget to show a button on the screen.

Now this button needs an onPressed: function that it calls when the button is pressed. So in that I define a new function that vibrates the device when the button is pressed.
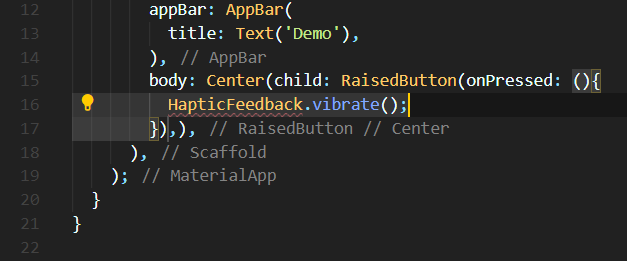
Note - We also need to import
import 'package:flutter/services.dart';as theHapticFeedbackclass is defined in it.

Now you can simply run your app and it would show an output like this,
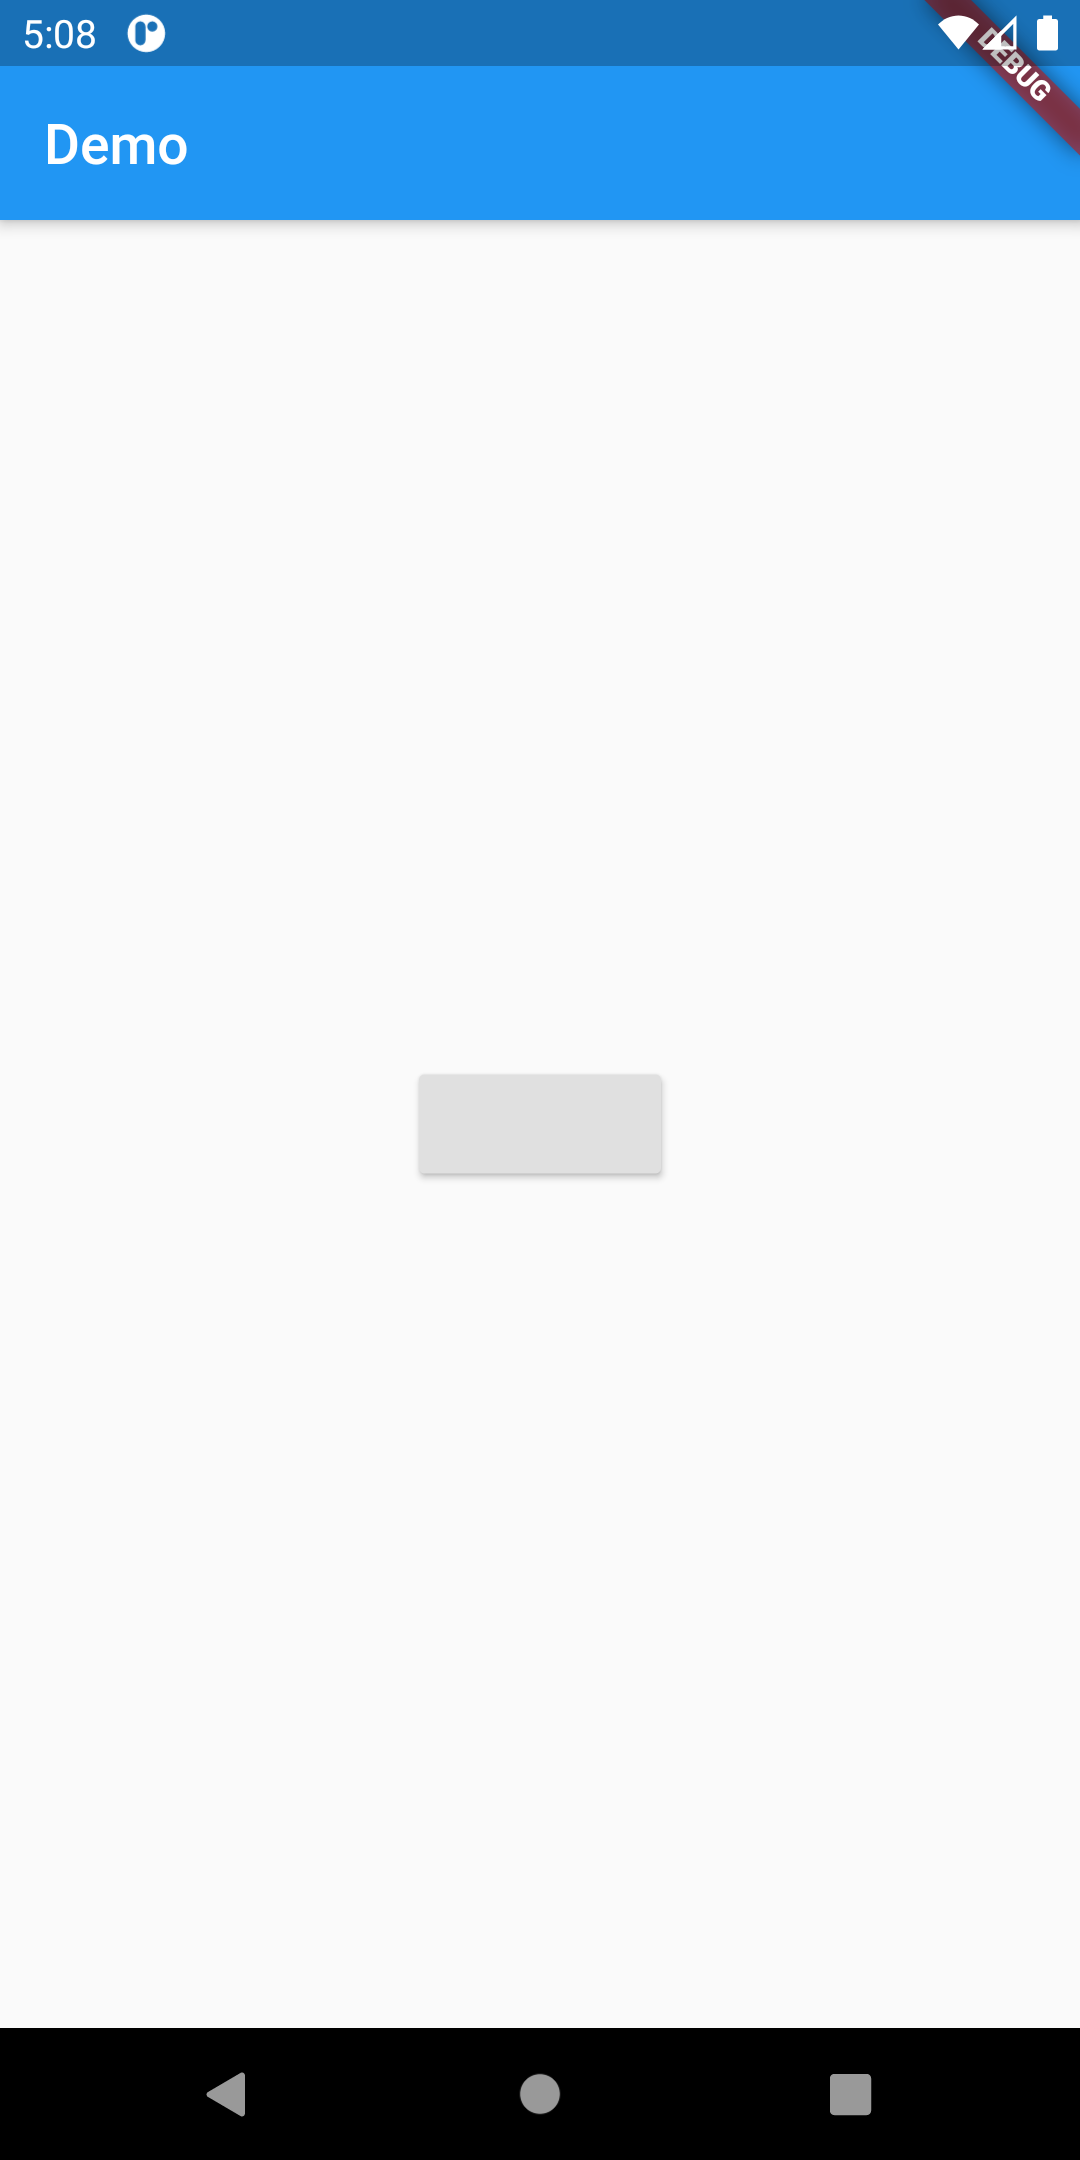
Note - The button shows nothing as its
child:property is empty. Simply give aText()widget in it to display text.
This completes your app. Now you can simply call
flutter build apk
to build your app for android. Now you can make more apps like this just by knowing about more widgets and creating your own widgets. Head over to Flutter documentation to know more about widgets.
Source Code
import 'package:flutter/material.dart';
import 'package:flutter/services.dart';

void main() {
  runApp(MyApp());
}

class MyApp extends StatelessWidget {
  @override
  Widget build(BuildContext context) {
    return MaterialApp(
      home: Scaffold(
        appBar: AppBar(
          title: Text('Demo'),
        ),
        body: Center(child: RaisedButton(onPressed: (){
          HapticFeedback.vibrate();
        }),),
      ),
    );
  }
}