
When I started developing apps with Flutter, there was this thing that one has to develop UI only using code. This makes it quite hard to visualise how the app will look beforehand. To solve this problem, Figma comes to the rescue. Using it, one can design beautiful UIs and assets for there application and then export them as images, which then can be used in Flutter using Image.asset objects. But there is one limitation to this that, even for like changing the color of button, you have to again export the image, import it into assets, and then rebuild the app to include those assets. But, today I will show you one trick to convert Figma components and Frames directly to Flutter code whic then uses Custom Painter to draw those things in the application. So, if you need to change the properties of the asset, you can simply change them in the code.
So, let’s get started.
Step-1 Get Figma API key
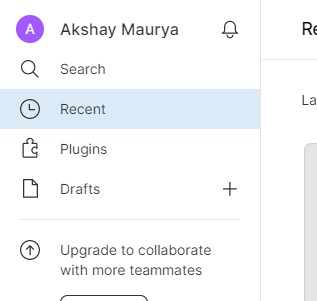
For this step, first open you figma account on a browser, then click on your account name.
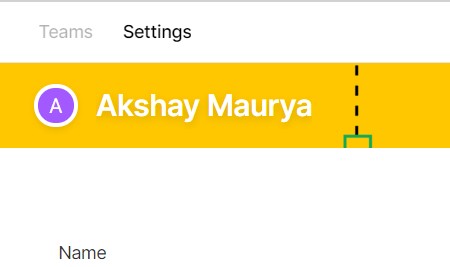
 This will take you to the Account page. Then click the settings tab, to go the settings page.
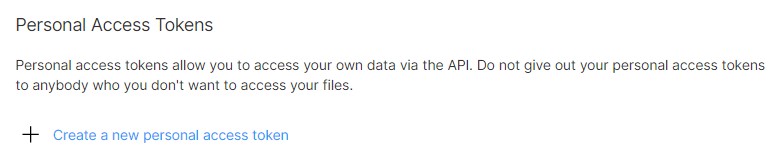
 Then in the Personal Access Token section click on
 Create a new personal token.
 Then generate your API key and make sure to copy it in a safe location because this is the last time Figma is letting you see it. We need it later on in this tutorial.
Step-2 Design your assets or UI in Figma
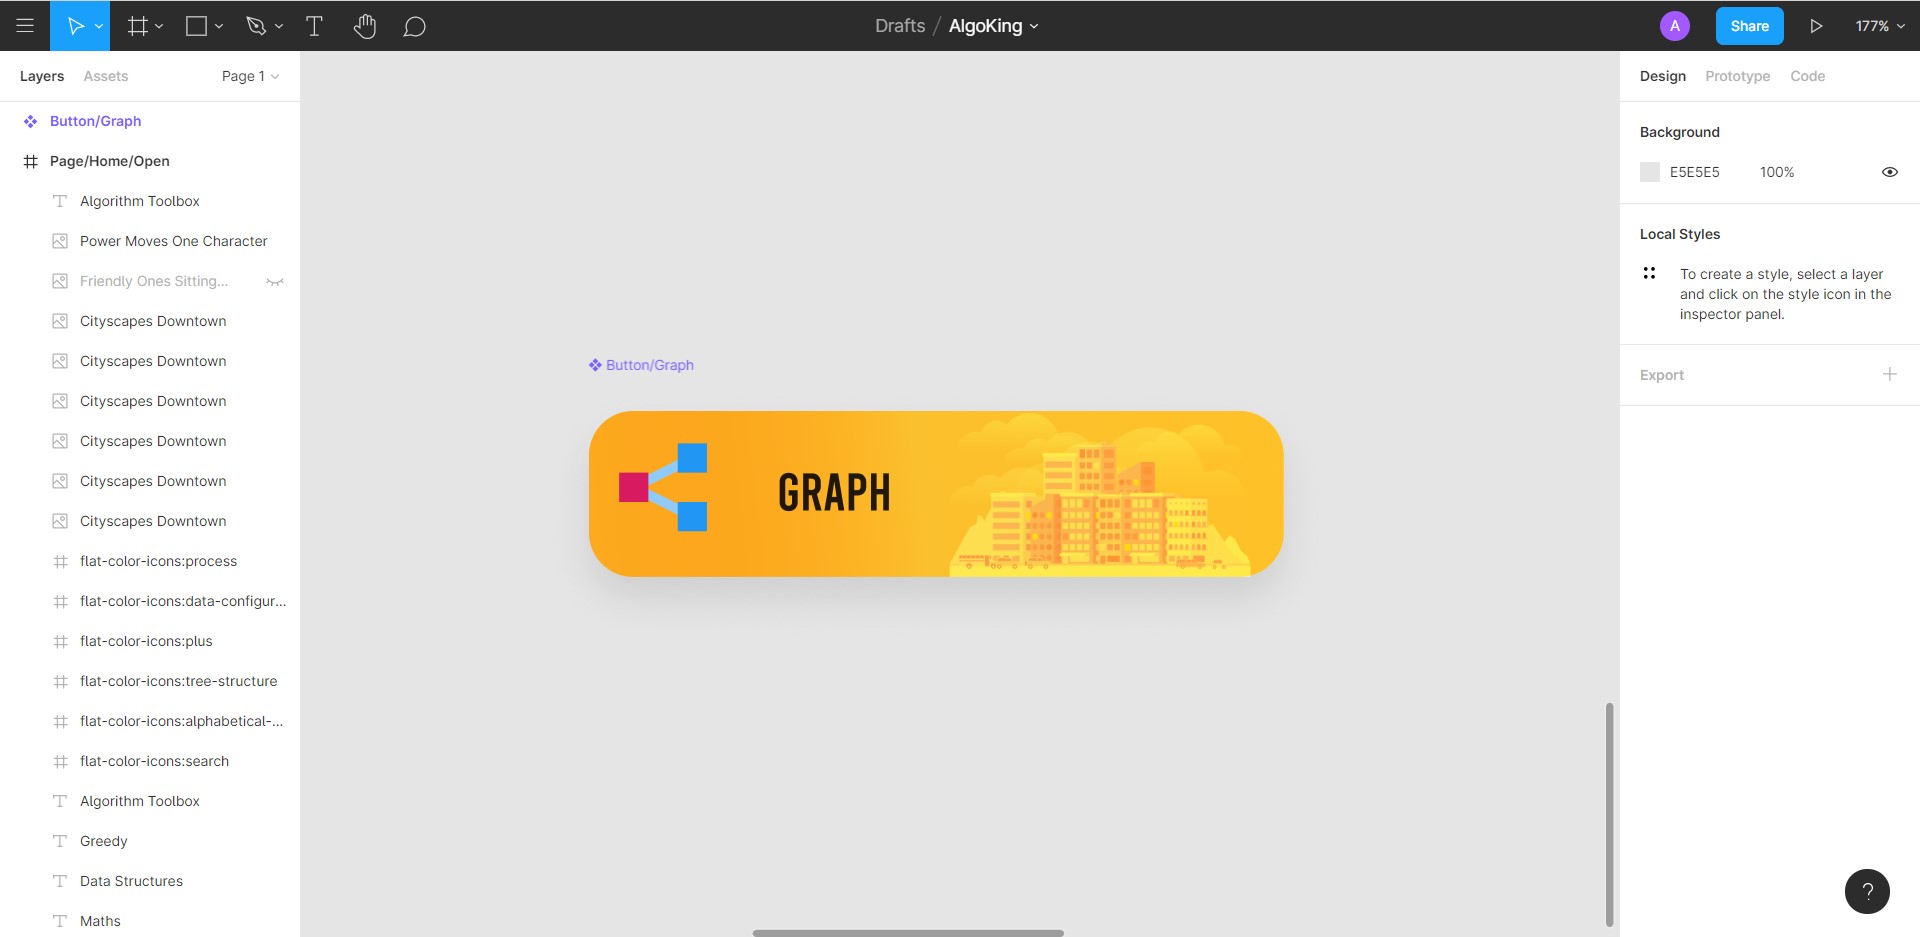
 In this step, you just need to draw the assets that you need. I am going to draw a button for demo purposes.
Step-3 Open Figma to Flutter app
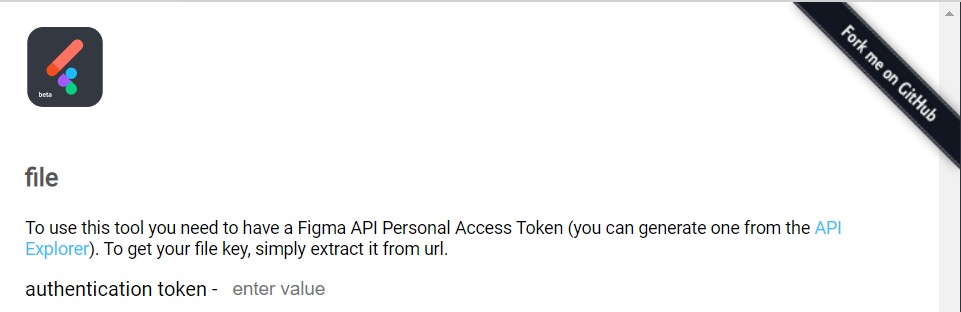
Now after you have designed all your assets and converted them into components, just go to https://aloisdeniel.github.io/figma-to-flutter/. Now in this website simply type up your API key in the authentication token section.
Step-4 Getting your file code
Now go to the file in Figma in which you have drawn your asset,
then go to the address bar and copy the highlighted text between the slashes.
 This is your
 file_key.
Now enter this file_key in the given section, in the Figma to Flutter app.

Step-5 Generating component code
Now click Load components and then select the components from the list that pops up below, which you wanna import.
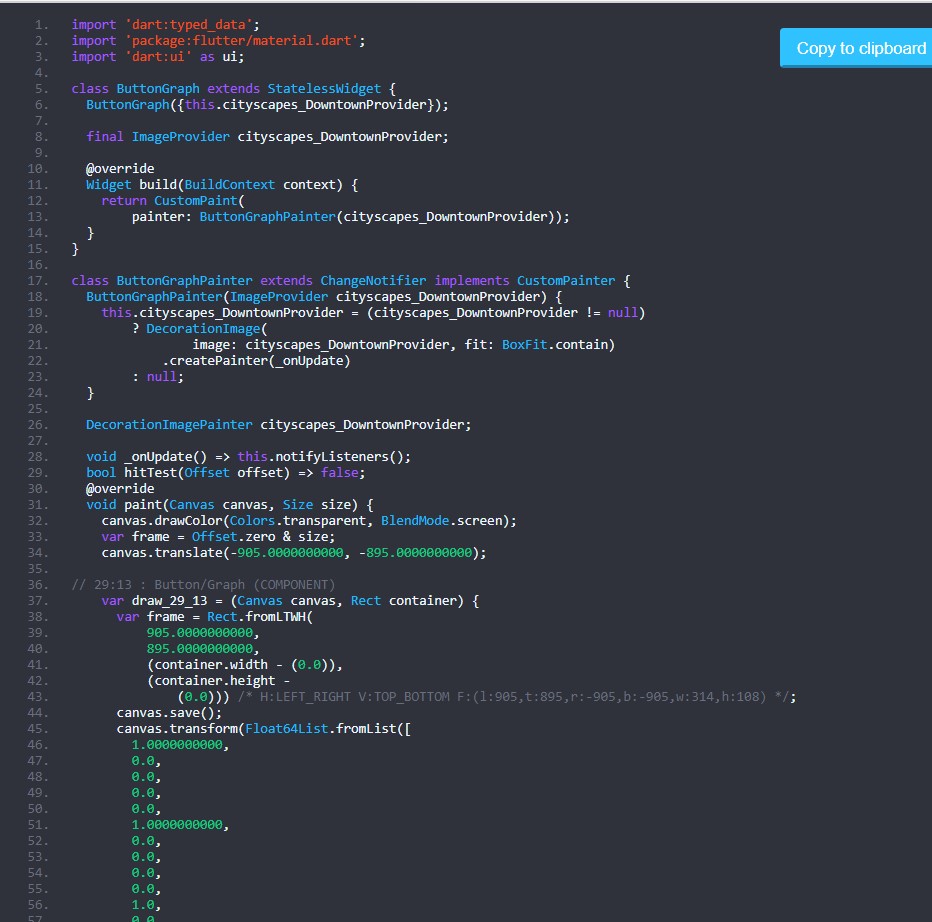
 Then click generate Dart code, to load the code in the code tab.
 Now just click copy to clipboard, to copy this code.
Step-6 Importing code into Flutter
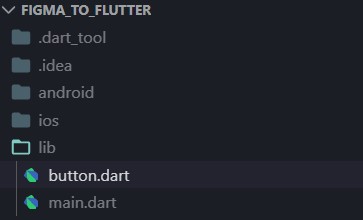
Now, open your Flutter project in your editor and then create a new file in your lib folder, named button.dart.
 Then simply paste your code into this file and save it. Now you just need to import this file in your
 main.dart, or wherever, you want to use it, in this case it’s main.dart. Then simply import the component widget by it’s name like I have in the code below.
Note - You may also need to include images that you used in Figma, in your assets in Flutter.

Step-7 Build your app
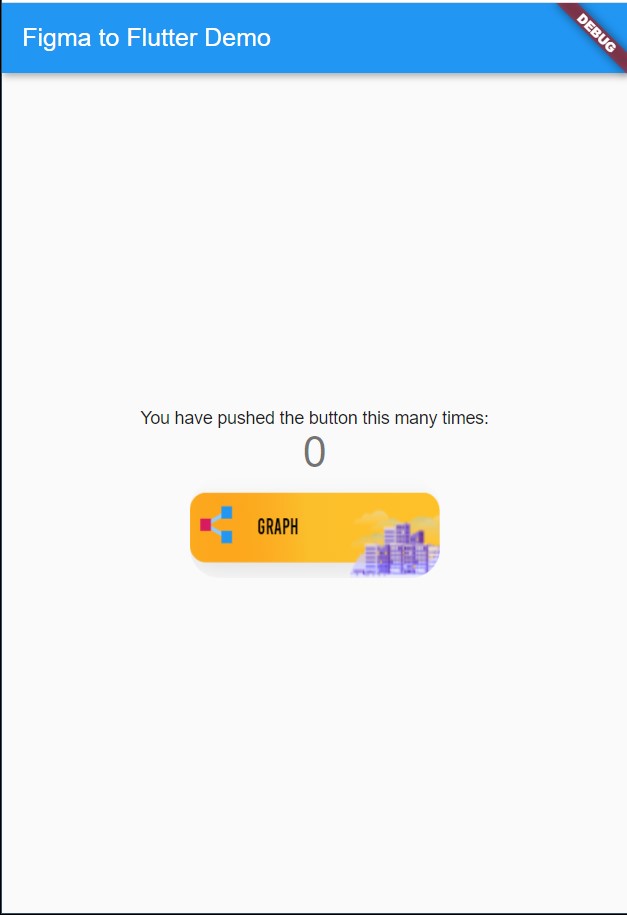
Now, as you can see this is the result.

This looks far from perfect, but it was an easy and fast way to simply import assets from Figma into Flutter, and with a little bit of tweaking here and there, it will be perfect.